Create a Ruby on Rails app in less than a minute
Scaffold a Ruby on Rails application

I am a full-stack developer at BigBinary.
In my previous article, I provided brief info about Ruby on Rails. Now we are going to see how to create a new Ruby on Rails project within seconds with all basic tools in place.
P.S: Throughout our blog, we will refer to Ruby on Rails as just Rails.
Prerequisite
- MVC: https://www.educative.io/blog/mvc-tutorial
- Ruby installed: https://www.ruby-lang.org/en/documentation/installation/
- Then run
gem install railsto install Ruby on Rails
Creating new Rails project
To create a new Rails project, run rails new <project_name. It is as simple as that.
rails new my-new-app
After running it, you will find your project created with the following directory structure:
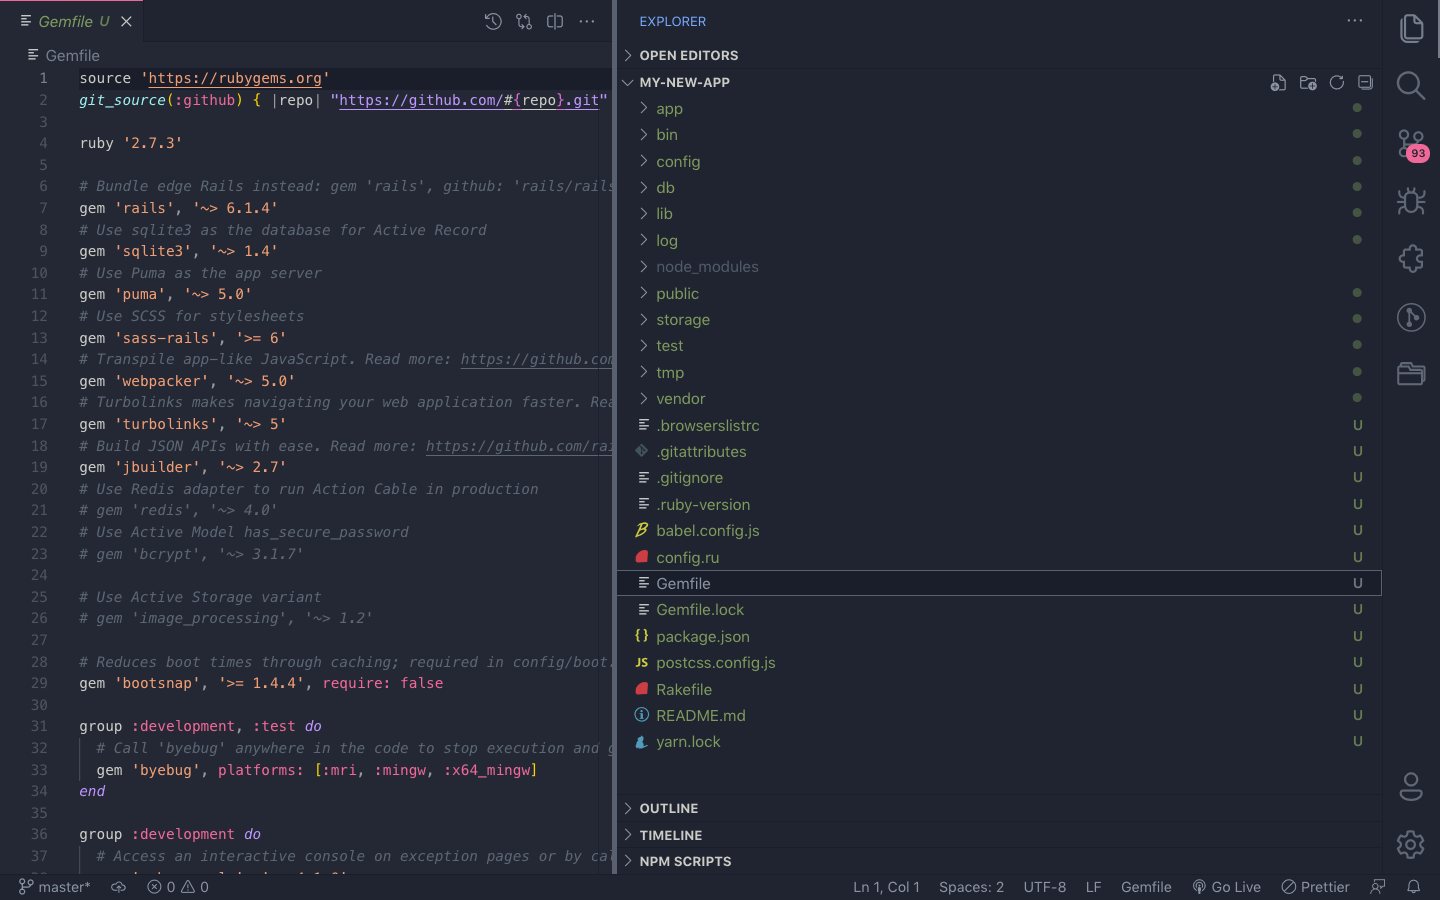
The new application is created with sqlite as default DB. It also assumes that you will use it as a full-stack framework, not just as an API. In order to customize what features you want to use, you can always pass the following options to it while creating it:
$ rails new --help    // to see all the available options

Usage:
  rails new APP_PATH [options]

Options:
      [--skip-namespace], [--no-skip-namespace]              # Skip namespace (affects only isolated engines)
      [--skip-collision-check], [--no-skip-collision-check]  # Skip collision check
  -r, [--ruby=PATH]                                          # Path to the Ruby binary of your choice
                                                             # Default: /Users/akhilgautam/.rbenv/versions/2.7.3/bin/ruby
  -m, [--template=TEMPLATE]                                  # Path to some application template (can be a filesystem path or URL)
  -d, [--database=DATABASE]                                  # Preconfigure for selected database (options: mysql/postgresql/sqlite3/oracle/sqlserver/jdbcmysql/jdbcsqlite3/jdbcpostgresql/jdbc)
                                                             # Default: sqlite3
      [--skip-gemfile], [--no-skip-gemfile]                  # Don't create a Gemfile
  -G, [--skip-git], [--no-skip-git]                          # Skip .gitignore file
      [--skip-keeps], [--no-skip-keeps]                      # Skip source control .keep files
  -M, [--skip-action-mailer], [--no-skip-action-mailer]      # Skip Action Mailer files
      [--skip-action-mailbox], [--no-skip-action-mailbox]    # Skip Action Mailbox gem
      [--skip-action-text], [--no-skip-action-text]          # Skip Action Text gem
  -O, [--skip-active-record], [--no-skip-active-record]      # Skip Active Record files
      [--skip-active-job], [--no-skip-active-job]            # Skip Active Job
      [--skip-active-storage], [--no-skip-active-storage]    # Skip Active Storage files
  -P, [--skip-puma], [--no-skip-puma]                        # Skip Puma related files
  -C, [--skip-action-cable], [--no-skip-action-cable]        # Skip Action Cable files
  -S, [--skip-sprockets], [--no-skip-sprockets]              # Skip Sprockets files
      [--skip-spring], [--no-skip-spring]                    # Don't install Spring application preloader
      [--skip-listen], [--no-skip-listen]                    # Don't generate configuration that depends on the listen gem
  -J, [--skip-javascript], [--no-skip-javascript]            # Skip JavaScript files
      [--skip-turbolinks], [--no-skip-turbolinks]            # Skip turbolinks gem
      [--skip-jbuilder], [--no-skip-jbuilder]                # Skip jbuilder gem
  -T, [--skip-test], [--no-skip-test]                        # Skip test files
      [--skip-system-test], [--no-skip-system-test]          # Skip system test files
      [--skip-bootsnap], [--no-skip-bootsnap]                # Skip bootsnap gem
      [--dev], [--no-dev]                                    # Set up the application with Gemfile pointing to your Rails checkout
      [--edge], [--no-edge]                                  # Set up the application with Gemfile pointing to Rails repository
      [--master], [--no-master]                              # Set up the application with Gemfile pointing to Rails repository main branch
      [--rc=RC]                                              # Path to file containing extra configuration options for rails command
      [--no-rc], [--no-no-rc]                                # Skip loading of extra configuration options from .railsrc file
      [--api], [--no-api]                                    # Preconfigure smaller stack for API only apps
      [--minimal], [--no-minimal]                            # Preconfigure a minimal rails app
  -B, [--skip-bundle], [--no-skip-bundle]                    # Don't run bundle install
  --webpacker, [--webpack=WEBPACK]                           # Preconfigure Webpack with a particular framework (options: react, vue, angular, elm, stimulus)
      [--skip-webpack-install], [--no-skip-webpack-install]  # Don't run Webpack install

Runtime options:
  -f, [--force]                    # Overwrite files that already exist
  -p, [--pretend], [--no-pretend]  # Run but do not make any changes
  -q, [--quiet], [--no-quiet]      # Suppress status output
  -s, [--skip], [--no-skip]        # Skip files that already exist

Rails options:
  -h, [--help], [--no-help]        # Show this help message and quit
  -v, [--version], [--no-version]  # Show Rails version number and quit

Description:
    The 'rails new' command creates a new Rails application with a default
    directory structure and configuration at the path you specify.

    You can specify extra command-line arguments to be used every time
    'rails new' runs in the .railsrc configuration file in your home directory,
    or in $XDG_CONFIG_HOME/rails/railsrc if XDG_CONFIG_HOME is set.

    Note that the arguments specified in the .railsrc file don't affect the
    defaults values shown above in this help message.

Example:
    rails new ~/Code/Ruby/weblog

    This generates a skeletal Rails installation in ~/Code/Ruby/weblog.
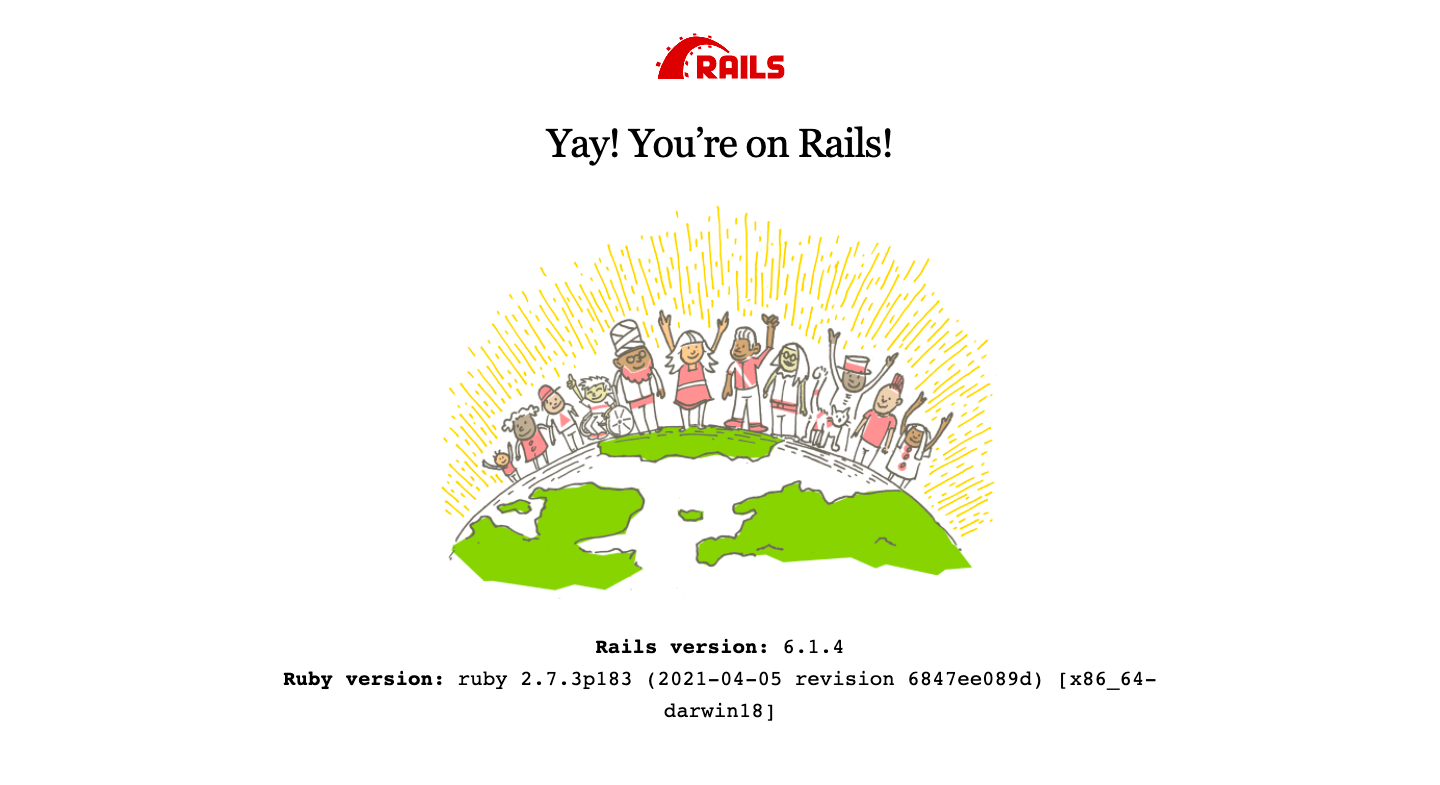
Run bin/rails server from inside the root of the new project to start the application. By default, it will run of port 3000. To specify a different port, we can pass it as an option, like bin/rails server --port 3001. Open up your browser and navigate to localhost:3000 to view your app.
Scaffolding an article app in less than a minute
A scaffold in Rails is a full set of model, database migration for that model, controller to manipulate it, views to view and manipulate the data, and a test suite for each of the above.
Let's now see how we can scaffold a full-fledged application in Rails. Stop the running server(ctrl+c) and run the following command:
$ bin/rails generate scaffold Article title:string description:text

      invoke  active_record
      create    db/migrate/20210814102858_create_articles.rb
      create    app/models/article.rb
      invoke    test_unit
      create      test/models/article_test.rb
      create      test/fixtures/articles.yml
      invoke  resource_route
       route    resources :articles
      invoke  scaffold_controller
      create    app/controllers/articles_controller.rb
      invoke    erb
      create      app/views/articles
      create      app/views/articles/index.html.erb
      create      app/views/articles/edit.html.erb
      create      app/views/articles/show.html.erb
      create      app/views/articles/new.html.erb
      create      app/views/articles/_form.html.erb
      invoke    resource_route
      invoke    test_unit
      create      test/controllers/articles_controller_test.rb
      create      test/system/articles_test.rb
      invoke    helper
      create      app/helpers/articles_helper.rb
      invoke      test_unit
      invoke    jbuilder
      create      app/views/articles/index.json.jbuilder
      create      app/views/articles/show.json.jbuilder
      create      app/views/articles/_article.json.jbuilder
      invoke  assets
      invoke    scss
      create      app/assets/stylesheets/articles.scss
      invoke  scss
   identical    app/assets/stylesheets/scaffolds.scss
Running the scaffold command crates the above files that include the model, migrations, controller, view, routes, etc. Now, we have run the migrations in order to create the articles table with the title and description fields that got created by the scaffold.
$ bin/rails db:migrate
== 20210814102858 CreateArticles: migrating ===================================
-- create_table(:articles)
   -> 0.0025s
== 20210814102858 CreateArticles: migrated (0.0028s) ==========================
We can now, run the Rails server again bin/rails server and visit localhost:3000/articles to see the list of articles. Because we haven't created any, it will be shown empty but with a link to New Article. Try playing with the application by creating few articles, view them on the list page, click on an individual article to get a detailed view.
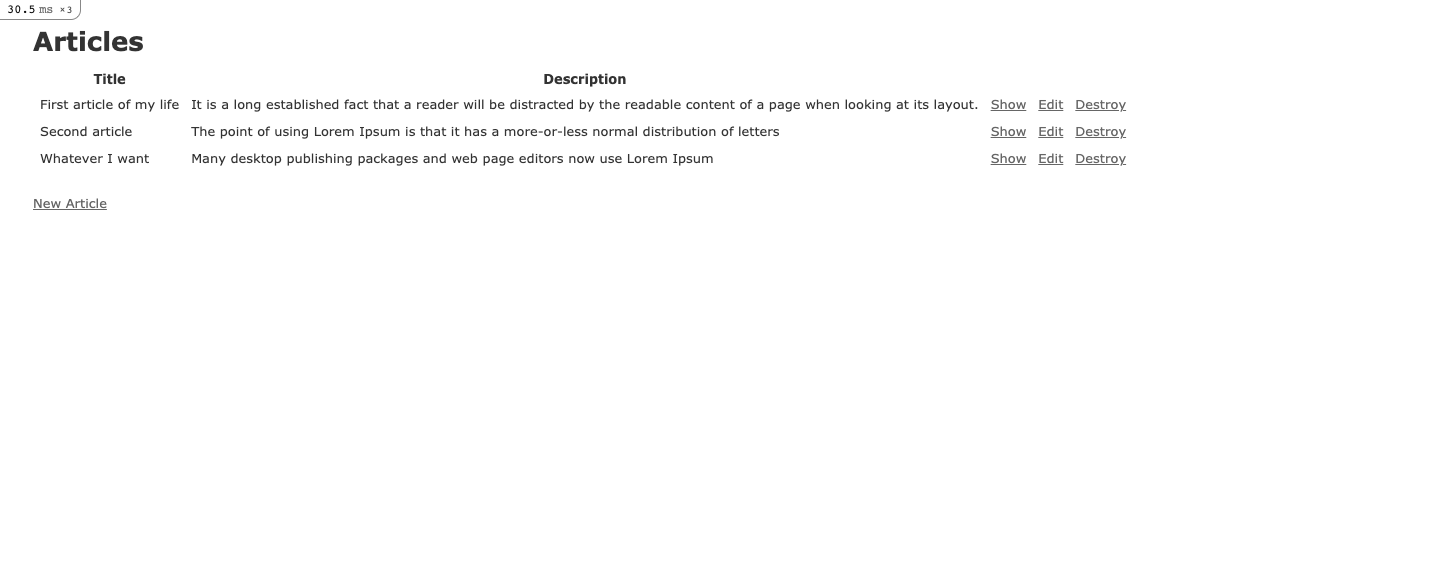
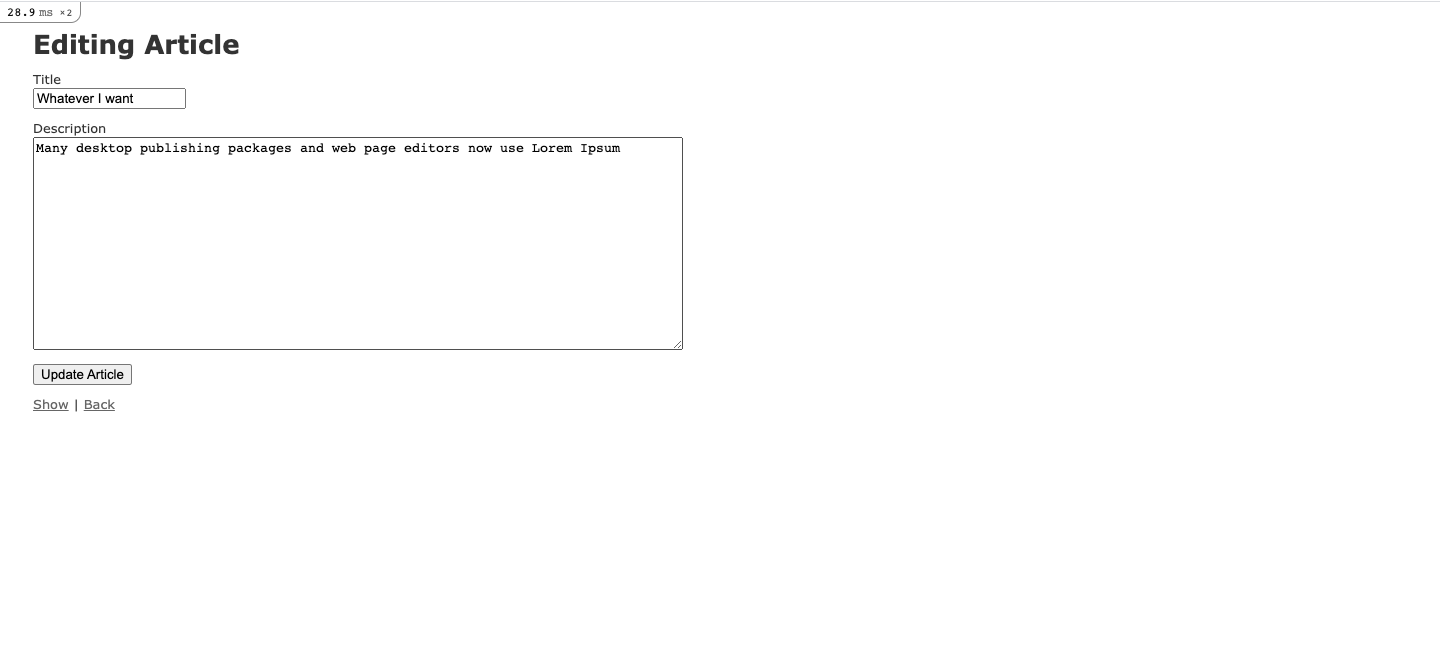
It is a Rails-magic that without writing even a single line of code, we get a full-fledged app that supports all the CRUD operations, and everything works flawlessly. On opening the project in an editor, you will see all the MVC code that got created by the scaffold.
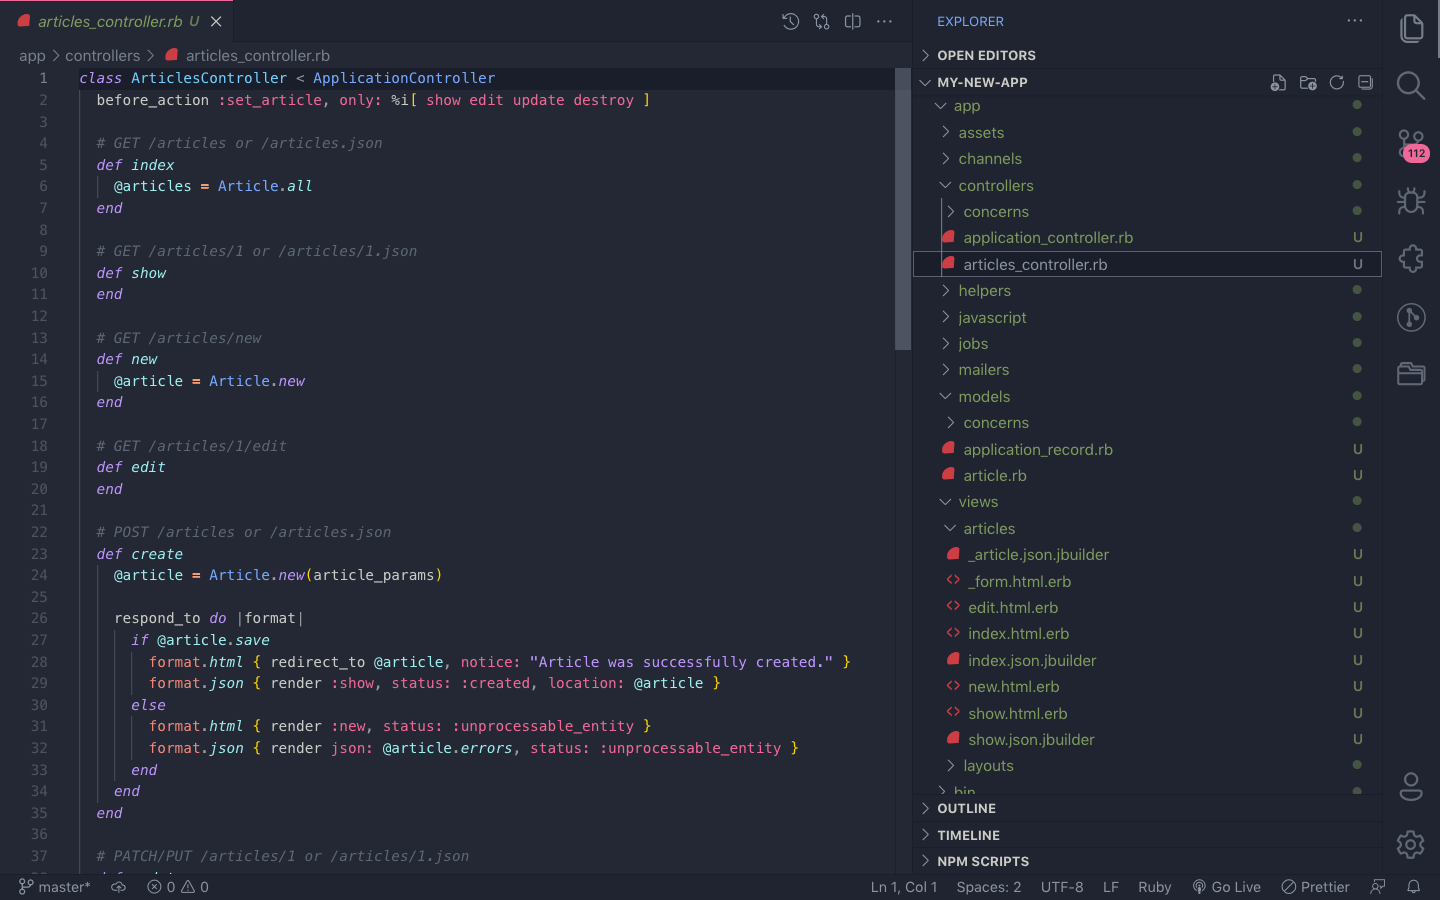
This blog is not intended to be a tutorial for beginners but a mere showcase of Rails scaffold. I will go into details of Rails in further blogs. Thanks for reading it till here.


